Author:
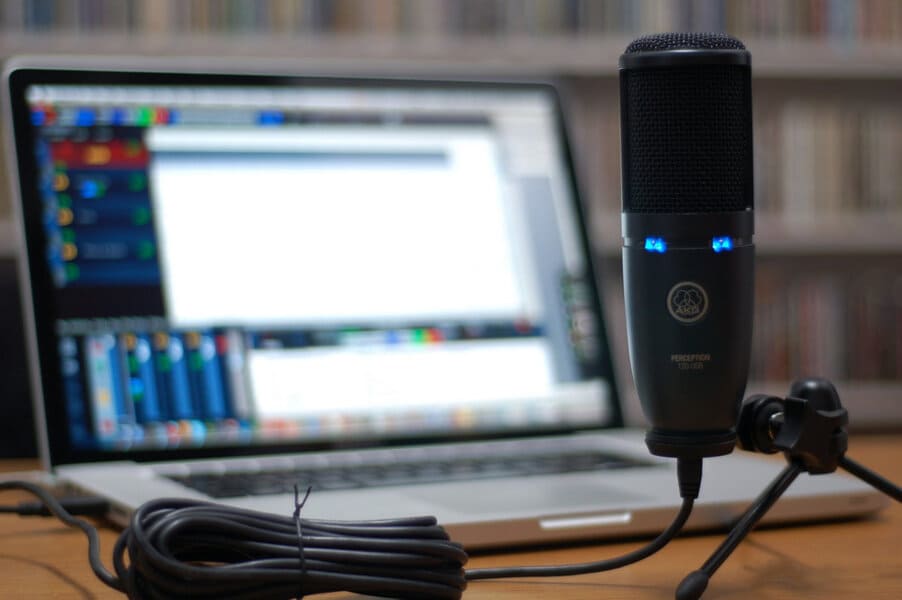
 This tutorial will show you how to set up a microphone on a computer or laptop:
Let's also talk about how to make a headset default microphone, eliminate unnecessary noise, amplify sound and what to do if nothing is recorded.
Microphone setup on Windows 10
How to set up a microphone on the latest Windows version? On computers and laptops running at the top ten, it is possible to configure the headset in two ways - through the control console or through the task manager.
Read also: Rating of the best USB microphones for gaming
Setting up a microphone on Windows 10 through the "Control Panel"
Let's consider how to set up a Windows 10 microphone. A simple instruction will come in handy:
- Open the control panel application in any convenient way. For example, enter a query into the search bar of your computer (click on the magnifying glass icon in the system tray).
- In the control panel itself, for convenience, switch to the "Icons" view mode, click on the "Sound" section.
- Go to the "Recording" tab.
- Look for the "Microphone" recording device in the list provided.
- Click on this name with the right mouse button, and then select the "Properties" line.
- You need the first tab "General" - scroll this window to the end.
- You will see the line "Application ..." - select "Use this device" from the drop-down list.
- Click on "Apply".
Read also: Rating of quality headphones with a good microphone
Even closer to how to set up a microphone on Windows 10:
- Go to the "Levels" tab - you will need to work with the sliders that appear.
- The first is responsible for the volume - usually users choose a number from 10 to 80, but you can set a different level to your taste.
- The second slider is responsible for the amplification of the recorded sound. Set the desired value in the take-off run from +10 to +12 decibels.
- How to set up a microphone on a laptop? Follow the same instructions.
- After all the settings have been made, click on "OK" - you're done.
Configuration through the "Device Manager"
There are situations when computers or laptops do not "see" microphones - in this case, you will not find the device in the control console. The most common reason is that you forgot to install or "misinstalled" the driver that came with the headset. Other common reasons are the device was disconnected through the task manager, or the microphone was connected to the wrong connector.
How do I set up a microphone on my computer in such cases? The first step is to check the installation of the required driver for the audio card:
- In a convenient way, go to the task manager. For example, right-click on the "Start" symbol and select the one you need from the drop-down list.
- In the next window, expand the subsection "Sound, video and game devices".
- Find your sound card. In most cases, this is a long English name - the same Realtek High Definition Audio.
- If you still haven't found what you are looking for, or you see a yellow warning symbol with an exclamation mark next to the board name, either reinstalling the driver or updating its settings is required.
- So, the sound devices are now all right. In the same list, find the subsection "Audio Inputs and Outputs".
- Expand the subtitle and find the microphone.
- If the headset does not work, most likely, it is simply turned off - this will be "said" by a small icon on the microphone icon with an arrow pointing down.
- Turn on the device: right-click on the name of the microphone, select "Enable ..." from the context menu
Now you figured out how to set up a microphone on Windows 10, acting through the task manager.
Setting up a microphone on Windows 7
Let's consider how to adjust the sound of the microphone on the "seven". Working on Windows 7 computers and laptops is almost the same:
- Go to Start, click on Control Panel.
- Select "Large Icons" view mode.
- Select the submenu "Sound".
- Go down to the "Recording" tab.
- Click on "Microphone".
- Call "Properties" with the right mouse button.
- Select "Listen from this device".
- The next step is to connect headphones to your beech or computer. If this is not done, the sound adjustment will not take place - you will be overwhelmed by the squeak and eerie background. In the headphones, you will hear your voice with a certain delay.
- How to set up a microphone on Windows 7? If the sound is too loud or too quiet, see the Levels tab.
- Use the first slider to adjust the sound volume.
- Use the second slider to adjust the gain. Do not select a value over 20 decibels, otherwise the recording will be noisy.
- Click on "Apply" and then on OK.
Read also: Rating of the best microphones
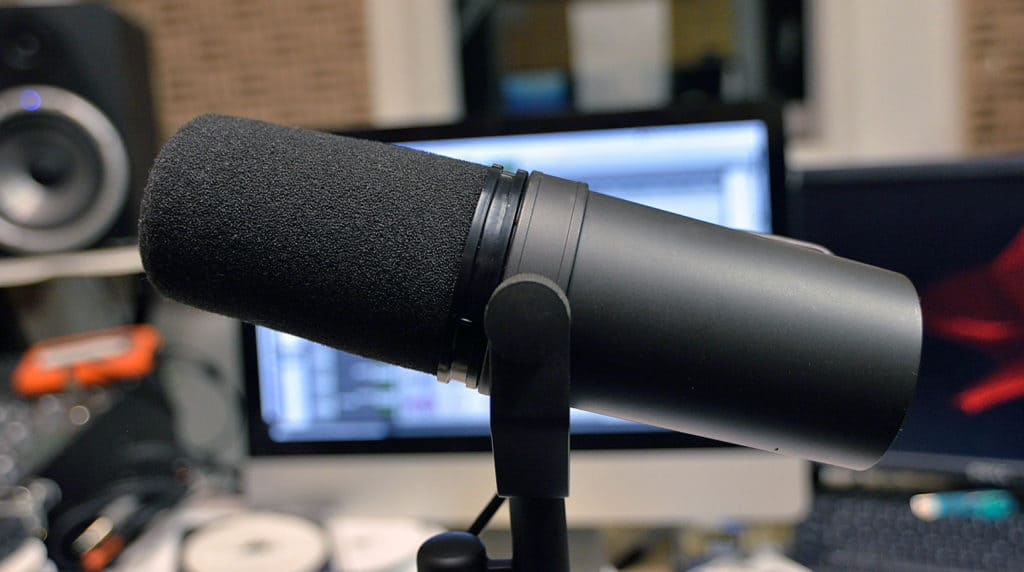
Setting up a microphone on a PC using special programs
How to set up a microphone on a Windows computer for professionals? If you're looking to get into professional recording, it's best to turn to branded and recognized software. They allow you to configure the microphone with greater precision, offer an extended list of headset settings:
- Audacity... The ability to record multiple audio tracks at once, trim, accelerate and slow down the sound.
- Free MP3 Sound Recorder... A simple and functional program that allows you to configure such sound characteristics as bit rate, frequency, channel and quality level.
- Sound forge... Professional sound editor for advanced users.
How do I make my headset the default microphone?
Most problems with sound recording can be solved by making the connected headset the default microphone. To do this, follow the instructions:
- In the system tray, right-click on the speaker icon.
- Go to the subsection "Sounds".
- If the microphone is already set as the default recording device, there will be a checkbox with a green outline on its icon.
- Otherwise, right-click on the microphone name and select "Use as default" from the drop-down menu.
- Click OK - you're done.
How to set up a microphone on Windows 7? Follow the same instructions.
Sound is not recorded or sound is too weak
A common problem: a PC or beech recognizes the microphone, but the recording is silent or very quiet. The problem is that you have not adjusted the headset settings - by default, the developers set the sound too weak.
How will the microphone on a Windows laptop be tuned for such problems? Life hack to fix the problem:
- Using our first instruction, go to the "Microphone" through the control panel and go to the "Properties" tab.
- Find the subsection "Levels". Let's figure out how to set up a microphone on a Windows 10 computer.
- There will be a speaker icon next to the first slider. If there is a red “disabled” icon on it, the sound is not recorded for this reason. Activate the icon, apply the settings and go back to the sound recording - the problem should go away.
- If the sound is recorded too quiet, turn it up - move the first slider to higher values.
- To check the changes made, return to the "Listen" tab.
- Check the box “Listen from this device” - speak something into the microphone to evaluate the changes made.
Read also: Rating of the best budget microphones
What if there is noise in the recording?
These settings are useful for those who are not satisfied with noise and crackling when recording sound:
- Following the first instruction from the article, find the microphone in the "Control Panel" and move to the Levels tab.
- How to set up a microphone on a PC? You will need a second Gain slider.
- Move it to 0 (zero), click Apply.
- Navigate to the Advanced tab.
- Experiment with different default formats to get the perfect sound for you.
Read also: TOP best wireless microphones
Troubleshoot other microphone problems
How do I set up a microphone on a Windows 10 laptop differently? You can get rid of both the listed and other problems in another way:
- In the control panel, stop at the Troubleshoot icon.
- Click on Hardware and Sound.
- Click on the subsection "Troubleshoot audio recording".
- A diagnostic window will open - click on "Next".
- Click on the microphone that you want to diagnose - and click on "Next" again.
- After the test cycle comes to an end, the system will independently eliminate all found problems.
- If no problem is identified, you will receive a message on the screen.
Read also: Rating of the best portable speakers